
7. Setting up a BSP project for synchronisation |
9. Setting up a BrightServer instance locally |
Now that we have an application ready to communicate to a server, we need to create and configure our server to talk back to our application through BrightServer. In these tutorials we will create a localhost server that will store data to a csv file. In order to proceed, if you did not install the BrightXpress Suite you will need to download and install Brightserver here.
In this tutorial we will create a BrightServer Project (BEP). It contains the necessary configuration to execute BrightServer.
Create a BEP project either by:
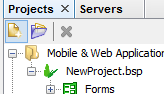
Pressing the new icon at the top menu or the Projects panel.

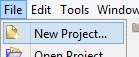
Select ‘File>New Project…’ from the main menu.
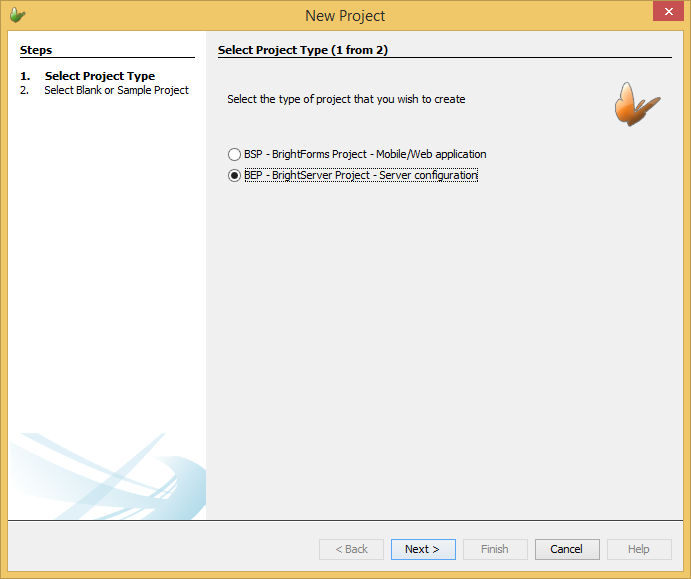
Select ‘BEP-BrightServer Project-Server configuration’ and click ‘Next >’.
Now we have an option between choose a ‘Blank Project’ or using a ‘Sample Project’. For this tutorial go ahead and press ‘Blank Project’ and then ‘Finish’.
The sample projects give users example applications demonstrating how to perform certain tasks in BrightForms.
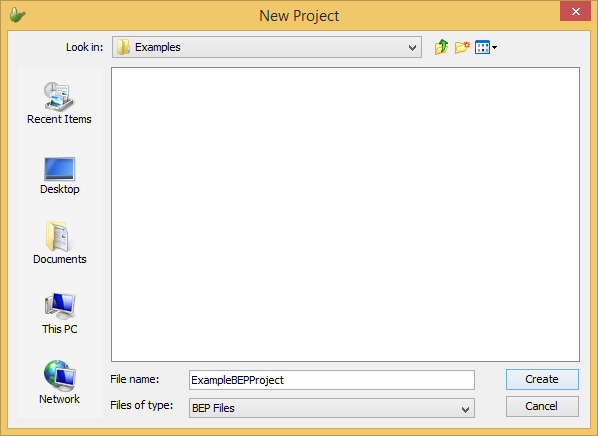
Select the directory where the project will be saved, give the project a name in the ‘File Name:’ field and press ‘Create’.
The project will now be listed under the Projects panel in BrightBuilder. We can expand the project through the [+] button next to the project. Initially each project element (Sync Points, Tables etc.) will be empty.
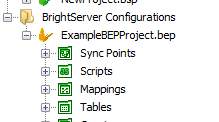
In this tutorial, we will show how to create a table in the BEP project through an existing table definition. Table is used to store where data can be stored. We will create the exact same table definition in our BSP project.
In the project tree, right-click on the Tables subtree and press ‘Copy’. We want to do this from the project with the desired table definition. For this tutorial, we want to copy the definition from our BSP project.
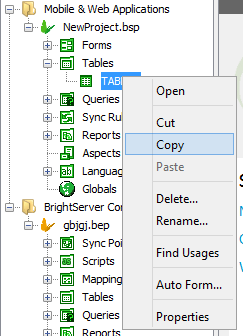
Now in the BEP project, right-click on the Tables subtress and press ‘Paste’.
You can copy and paste table definitions to any project in BrightBuilder. You have created a table definition which will be used to store data on the server.
Sync Points are used to define the flow of data between BrightServer and the remote client. In this tutorial we will show you how to create and configure sync points.
In the project tree, right click on the Sync Points subtree. And press ‘New Sync Point’ in the popup menu. This should create and open a new sync point panel called ‘SyncPoint1’.
Press ‘Add New Data Source/Destination’ which will make a new dialog appear.
In this dialog, we must select the table used for synchronisation (table we created in tutorial 7.2) and the direction in which data will flow. For this tutorial choose ‘Both ways’ as we want to send data both ways. Press ‘Next >’.
This next step requires use to select where our data will be stored on the server. For this tutorial we will set our data accessor to a CSV file.
The next step involves transformation and mappings. We will not be using these so in this tutorial you can ignore them and press ‘Finish’. (For more information, please refer to the Scripts > Transformation and Mappings sections in this document). Your window should now look similar to the screenshot below.
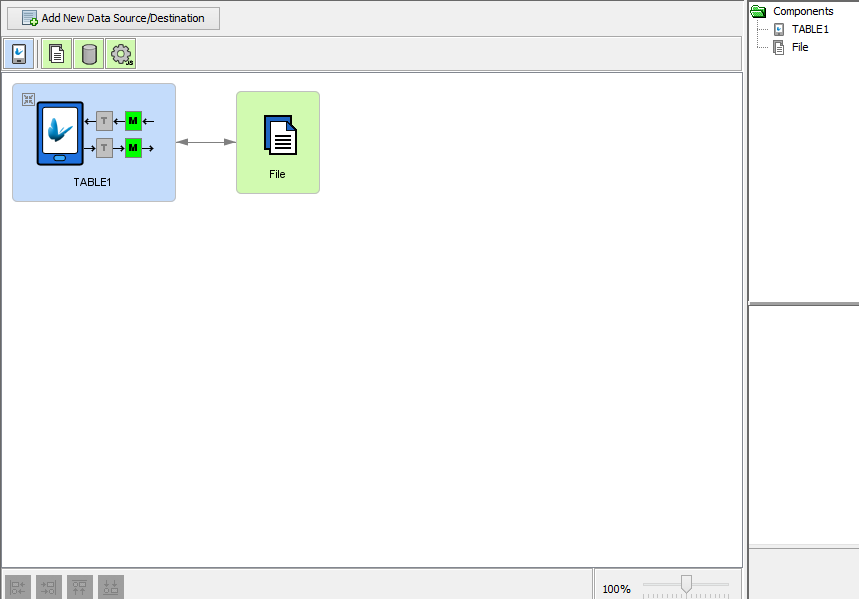
Click on the ‘File’ block which will bring up its properties.
Using the  next
to the ‘File name’ property,
we need to set the file path
to where the CSV file can be found. This CSV file will hold all the
data which is synchronised to/from the device..
next
to the ‘File name’ property,
we need to set the file path
to where the CSV file can be found. This CSV file will hold all the
data which is synchronised to/from the device..
If you want it to append data records to the end of the file make sure the ‘Append’ property is ticked. This completes the configuration of the 'File' data accessor. For more information on this sync point, please refer to the Sync Points > File Data Accessor chapter of this document.
 Note:
You can make more complex sync points by using these datasources in
the toolbar. More information can be found here.
Note:
You can make more complex sync points by using these datasources in
the toolbar. More information can be found here.

7. Setting up a BSP project for synchronisation |
9. Setting up a BrightServer instance locally |