
| 8. Setting up a BEP project for synchronisation | 10. Synchronising with BSP and BEP projects |
Now we will show you how to create an instance of BrightServer running on localhost in order to synchronise from our client application to a running server.
In BrightBuilder, a local server on default ports 8080/8443 and 12921 for HTTP/HTTPS and remote tracing respectively will be registered under the 'Servers' panel. If a different BrightServer instance is to be used, please perform the following steps, else continue to the next section.
Open the Server tab, which is located next to the Projects tab.
There are 2 ways to create a new BrightServer instance
Right-click ‘BrightServers’ in the Servers window and click ‘Add Server’.
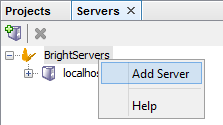
Or press the  icon.
icon.
In the new dialog box we need to specify the server connection details. If you are not using a localhost server, fill in the details of your server. Connection details of any server registered in this panel may be modified at any time the properties panel.
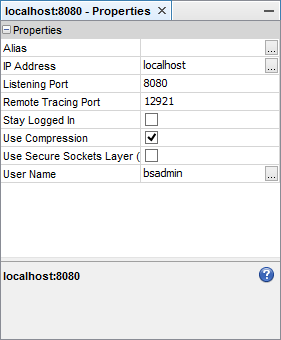
You have just created a server. This server may be monitored, and configured via this panel in different ways. For more information, please refer to the BrightServer Instances and Configuring BrightServer chapter of BrightServer respectively.
Install BrightServer via installation files found on the BrightXpress website. A typical installation will install BrightServer, register it as a Windows service, and automatically start this service on the machine.
For more information, please refer to the BrightServer > Installing BrightServer as a Windows Service topic.

In this tutorial you will learn how to create a user so they can login into the application and server. The username and passwords will be used to login in to BrightForms in order to communicate and authenticate access to our BrightServer instance.
Expand the Configuration subtree and double-click ‘Users’.
You will be prompted to enter a ‘Name’ and ‘Password’. By default, every BrightServer will have the username ‘bsadmin’ and password ‘changeit’ user on it. Use this combination in order to log in
A prompt saying ‘Successfully downloaded the BrightServer Runtime Configuration’ will appear, press ‘OK’.
Press ‘Add New User’ and this will add another row into the list of users. For this tutorial leave their name and role as is (Role = User).
You can also provide the user with Web Access to use BrightWeb by ticking the box under the column.
Right-click the new user’s row and press ‘Change Password’. Type a new password for the user.
Finally, press ‘Post Changes’. This will validate the server settings and show a preview of the server configurations. Simply press ‘Proceed’ to save the changes.
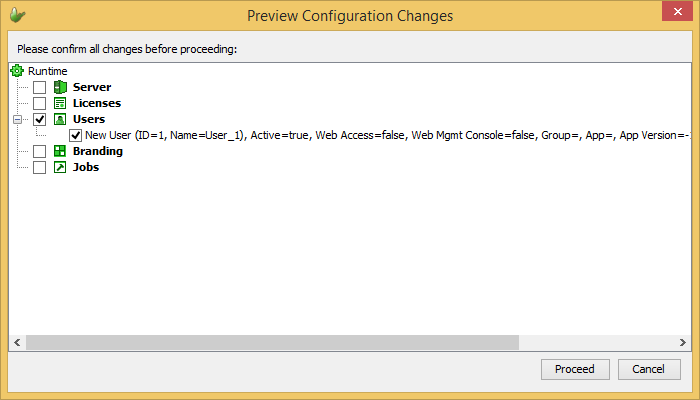
When using an application on this server, you can use this user name and password to synchronise to the server now as well as stay up to date with the application. For more on user configurations, go here.
| 8. Setting up a BEP project for synchronisation | 10. Synchronising with BSP and BEP projects |