| 1. Installing and Running BrightBuilder | 3. Running applications in BrightBuilder through BrightForms |
In this tutorial you will learn how to create a Bright Application that displays ‘Hello World!’ on the device screen using BrightBuilder.
In this tutorial you will learn how to create your own BSP project that contains the application definition. A BSP file comprises of forms, tables, queries, reports, sync rules and the global elements. For more information about projects, click here.
Create a BSP project either by:
Pressing the new icon at the top menu or the Projects panel.

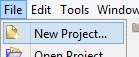
Select ‘File > New Project…’ from the main menu.
Press ‘BSP-BrightForms Project-Mobile/Web application’ and press ‘Next >’.
Now we have an option between choose a ‘Blank Project’ or using a ‘Sample Project’. For this tutorial go ahead and press ‘Blank Project’ and ‘Finish’.

The sample projects give an example application of how to implement certain functionality in an application (For more information about each sample project click here).
Select the directory where the project will be saved, give the project a name in the ‘File Name:’ field and press ‘Create’.

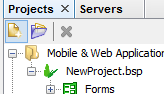
Expand the project through the [+] button next to the project. Initially each project element (Forms, Tables etc.) will be empty.
Forms are the heart of the graphical user interface of Bright Applications. For more information, go here. In this tutorial we will create the form to be used to display ‘Hello World!’
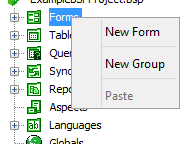
In the Projects Window, expand the project, right-click on the Forms sub tree and select ‘New Form’ from the popup menu.
If the form is the first in the project and the ‘Default Form Size’ property has not been set, the ‘Default Form Size’ dialog will appear. You can specify the default size of a form by either:
Use Predefined Sizes for different devices
Or define a custom height and width

For this tutorial, let’s choose the iPhone 5 Portrait predefined size and press OK.
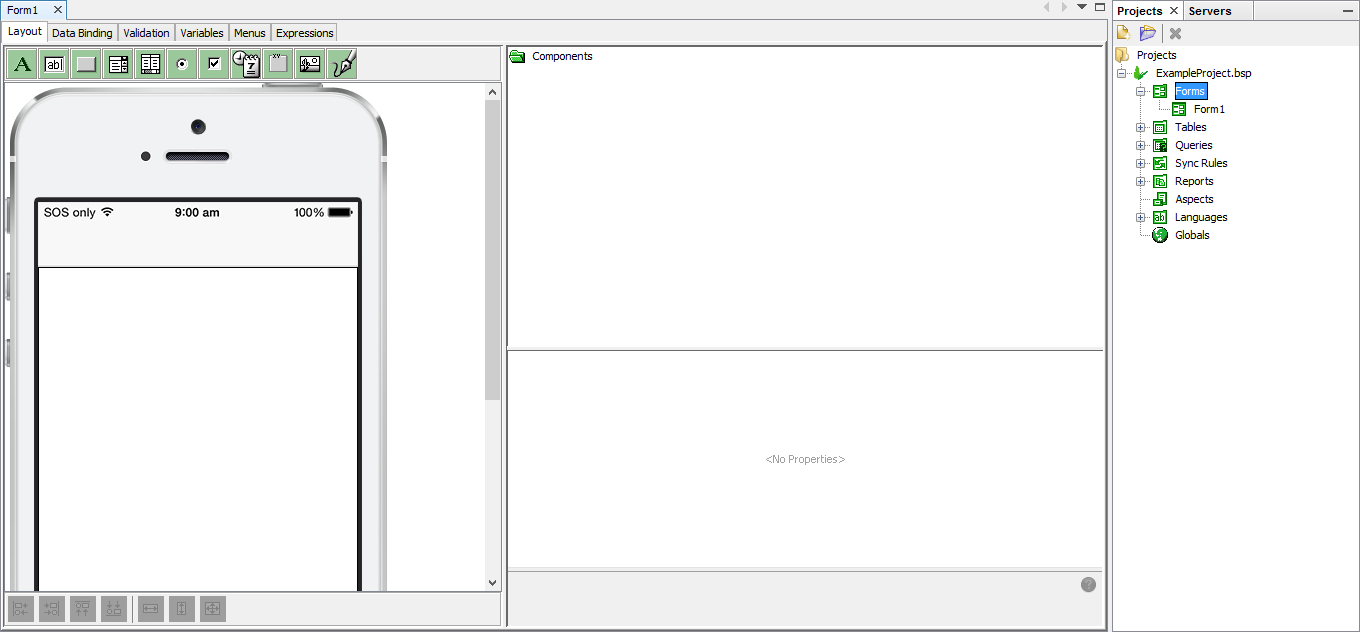
Form controls are objects on a form that display data, perform actions or are used for decoration. More information about all the different Form Controls can be found here. In this tutorial we will just worry about labels and buttons.
Labels
are represented by ![]() in
the menu bar. Simply click, drag
and drop the label anywhere within
the device skin displayed.
in
the menu bar. Simply click, drag
and drop the label anywhere within
the device skin displayed.
Let’s add a button to our form
by dragging and dropping ![]() onto
the form. After adding a button to your form, the layout should look
similar to the screen below.
onto
the form. After adding a button to your form, the layout should look
similar to the screen below.
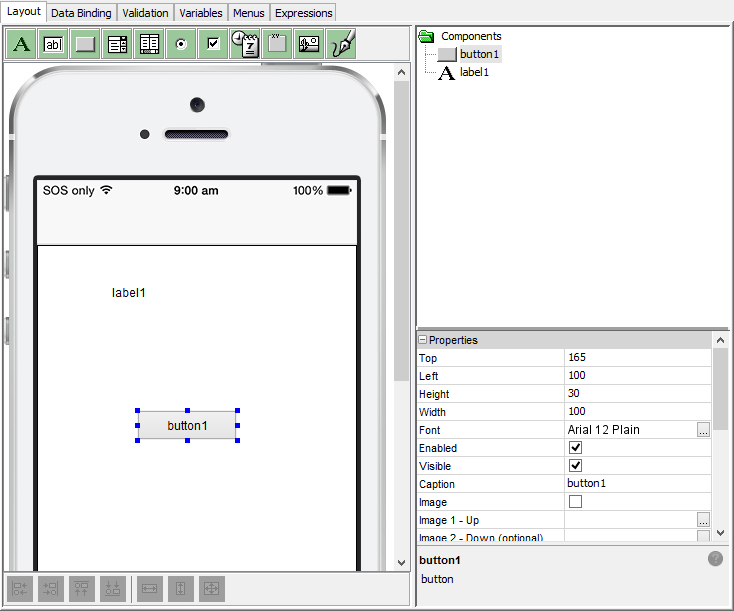
When you click each control, their respective properties will appear. Each control has property settings that can be changed to alter the way the control looks and behaves. More info on form control properties can be found here.
Go to tutorial 2.4 to put some functionality into our application through expressions.
From tutorial 2.3, we added form controls however as is, they will not perform any actions in the application. Find more information on expressions here. In this tutorial we will teach you how to make a button change the text displayed in a label.
Double click the button control to make the below popup dialog appear.

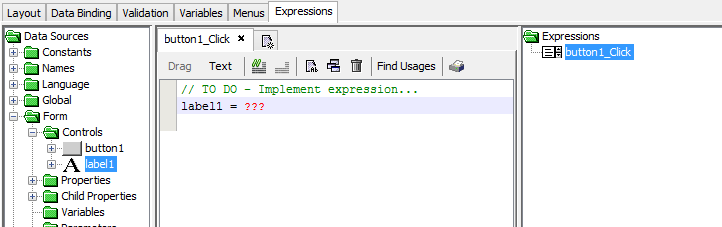
In this popup, we can choose for the button to open another form or run an expression when it is pressed. For this tutorial, press ‘Run Expression’. This will create a new expression that will be called whenever the button is pressed. You can check this by checking the ‘Action – Click’ property of the button.
The left most side of the Expressions window is the data source tree, which is used for reference to what data sources the form has access to. Go to ‘Form>Controls’ in the data source tree to find all the form controls on our form. Drag and drop the label control into the expressions working area.
Change the caption of the label by double-clicking the ??? placeholder, bringing up the input dialog. Type ‘Hello World!’ in the ‘Enter Value’ field. Make sure the Data Type is ‘string’.
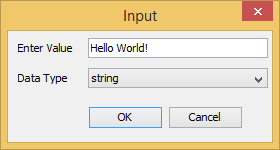
Press OK and your expression will update.
label1 = "Hello World!"
NOTE: Expressions can also
be made using ‘Text’ mode
that allows user to type the necessary code instead of dragging and
dropping. You can interchange between the 2 modes by clicking the
mode you want to operate in.  More info here.
So you could simply go into text mode and copy and paste the above
code.
More info here.
So you could simply go into text mode and copy and paste the above
code.
Helpful tip: If you are using Text mode, when you are done switch back to Drag mode. Doing this, will validate your expression, checking for any errors you have typed.
When we press the button the text of our label will change to ‘Hello World!’ Now let’s run our application.
| 1. Installing and Running BrightBuilder | 3. Running applications in BrightBuilder through BrightForms |