
| 9. Setting up a BrightServer instance locally | (Finished) |
Next > |
In this tutorial you will learn how to deploy the project you have developed onto the server in order for the client and server to communicate with each other when synchronising. You will also run your applications and try sending data to and from the server.
You can deploy your applications to server to allow multiple clients to have access to the application. Deploying to the server also allows developers to keep track and release deployments to end-users.
Right-click the BSP project you want to deploy to the server and press ‘Deploy to Server ...’.
BrightBuilder will validate the project, if no errors are found; a dialog box will appear asking to select a server. If you are using localhost, pick ‘localhost:8080’ and press ‘Select’. Otherwise, click your own server instance.
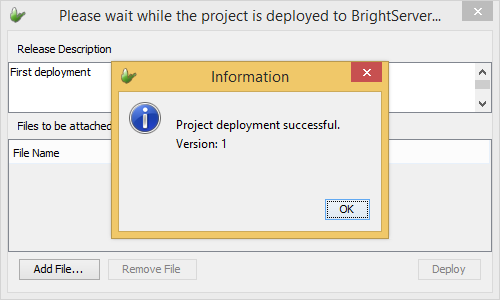
A new dialog box will appear to add a description to the release of this application and add any files to the release of this application. Add a description and press ‘Deploy’. A dialog box will appear saying if project deployment was successful and what version of the application it is.
Go to the Server tab, and to ‘Users’ under the ‘Configuration’ subtree. We want to release the application we just deployed to users. Press ‘Release Applications…’.
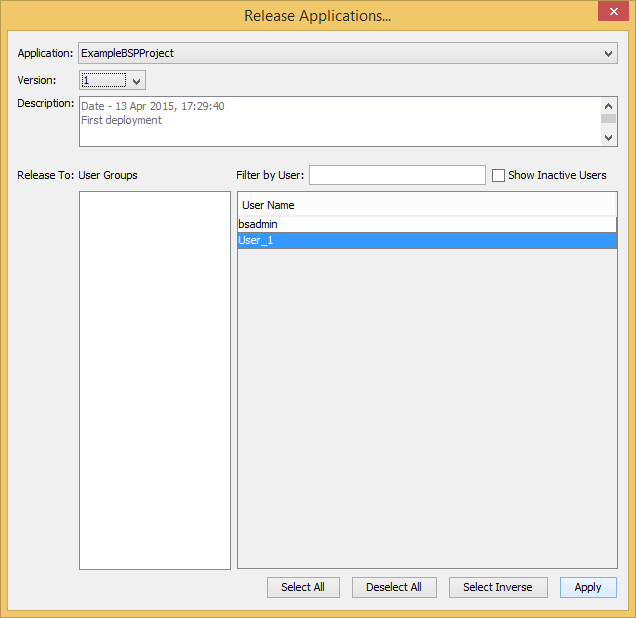
Using the dropdown boxes, set the application and version you want to release, and the users to release them to. Once selected, click 'Apply'. For this tutorial, release the application for the user we created in the previous tutorial.
The users will be configured in the table with the values set in the previous dialog. To apply these changes to the server, click ‘Post changes’ and then ‘Proceed’ once confirmed.

You have now deployed your application to the server ready to be released and used by registered users on the server.
In this tutorial you will see how to deploy server configurations (BEP) onto a server.
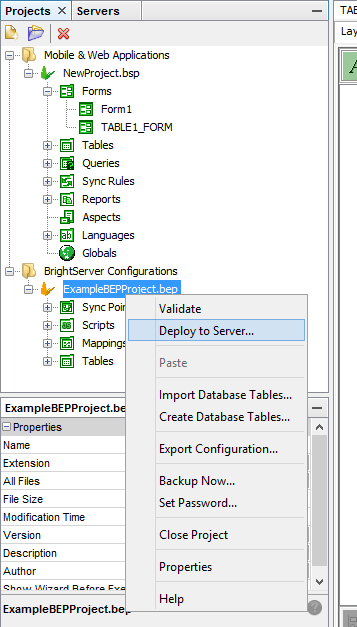
In the Projects tab, right-click the BEP project we want to deploy to the server and click ‘Deploy to Server ...’.
Choose the server you want to deploy the configuration to. For this tutorial deploy to localhost:8080.
In the next dialog, enter a release description and any configuration properties files you may need. You also have the option for this deployment to replace the latest version or deploy as a new version (If you are using the BrightXpress suite this option is default and cannot be changed). Once you have entered all you need, press ‘Deploy’.
Another dialog box will appear asking if you want to activate the configuration you have just deployed. Press ‘Yes, take me there’.
Click the right configuration name (E.g. ExampleBEPProject). This will make a list of configuration deployments appear. Pick a deployment version and press ‘Activate Version’.
Another dialog box will appear asking to activate the configuration or activate it and make it the default configuration (More information on default configurations here). Choose ‘Activate and Make Default’.
Next, a dialog box will appear asking if you want to release the configuration to users. Press ‘Yes, take me there’. It will take you to the list of users on the server.
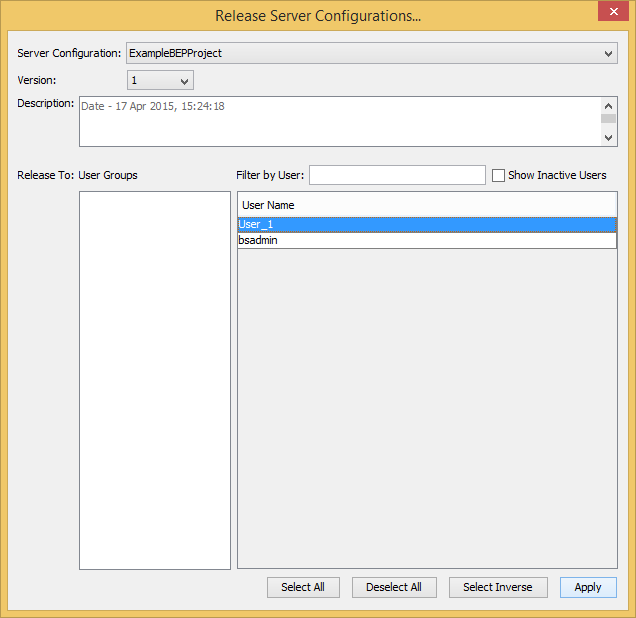
Press ‘Release Server Configurations…’. Set the server configuration and version number using the dropdown menus to be released. After set the users you want to release the configuration to and press ‘Apply’ when you’re done. For this tutorial, release it to the user we created in tutorial 9.3.
The users will be configured in the table with the values set in the previous dialog. To apply these changes to the server, click ‘Post Changes’ and ‘Proceed’ to update the server.

We have now deployed the BSP and BEP projects to the server. The application is now able to communicate between its self and the server. For more information, please refer to the on configuration deployment process, please refer to BrightServer > Deployed Configurations chapter of this document.
In this tutorial you will learn how to set up a fresh installation of BrightForms on an Android device and configuring the settings to use your application. More information on BrightForms on Android can be found here.
Go to the ‘Play Store’ application on the Android device
Search for ‘BrightForms’ in search bar. Tap on the application shown below.
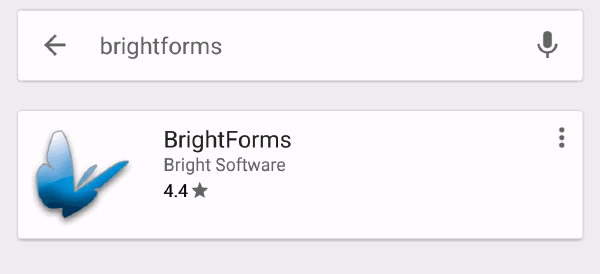
Install the application and once it has been installed open the app
On the Activation Screen of BrightForms enter all the necessary details to connect to the server.
User Name and Password: Enter the user and password we added in tutorial 9.3
Server Address: The IP address of the server. If you are using localhost. Enter ‘ipconfig’ on the command prompt in Windows to get the IP address of the machine.
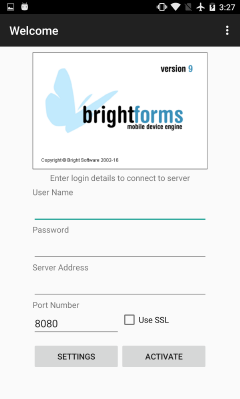
Once you have entered the correct details, press ‘Activate’.
BrightForms will get the application and configuration released for the user and run it on your device.
Your application is now ready to synchronise data to and from a server.
We can now execute our application on a device or BrightBuilder to test our application and see if synchronisation works.
Let’s add new data. In the main form, press ‘New’ and enter your name into the name field. Once you’re done press ‘Save’.
This will cause the form to close and bring you back to the main form. The listview will also have been updated with the auto generated ID and the name you entered. The record is stored locally on the client.
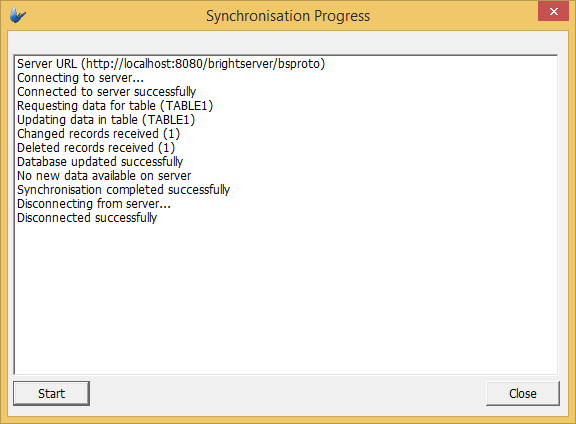
Now press ‘Send To Server’ which will send the data on the client to the server and writes it to the CSV file. The Synchronisation Progress window will open.
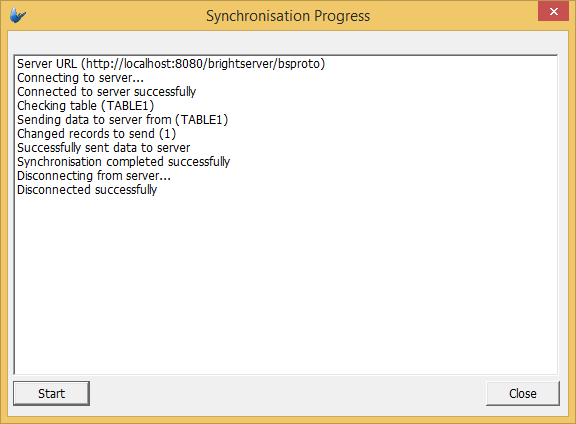
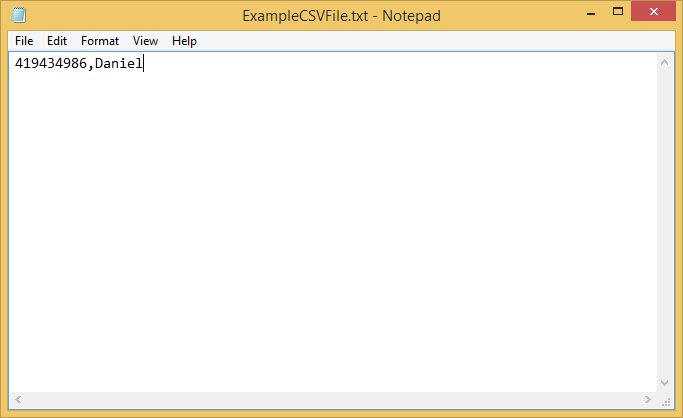
As you can see from the dialog box, it says ‘Synchronisation completed successfully’ meaning the synchronisation was successful. If you open your CSV file, you will see the record you entered in your application has now been saved.
When you try to synchronise and an application update dialog box appears, simply press ‘OK’, exit and execute your application again. When the application runs, it check if it has the latest version from the server, this dialog box will only appear if there is an newer release of the application on the server.
If you have made it to the end of this section with no errors, then your application has just sent data to a server.
Now in this tutorial, we will see how to get data from a server successfully.
Open your CSV file in a text editor and add the name ‘John’ after the last record and with a unique ID number (E.g. ‘419433987,John’).
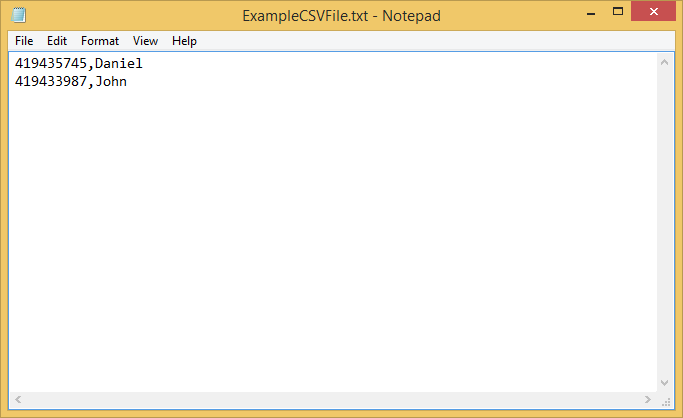
In your application, Press ‘Get From Server’ and the Synchronisation dialog box will appear displaying the synchronisation process. The synchronisation should succeed and the listview should update with the new record we added in the CSV file.
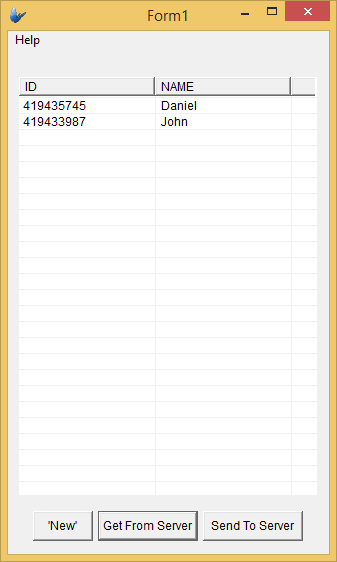
You have just sent data from the server to the client application!
| 9. Setting up a BrightServer instance locally | (Finished) |
Next > |