Running BrightServer in Linux
Contents Hide
Description
This tutorial will demonstrate how to setup and run the BrightServer server on a Linux machine.
Installing BrightServer
To install BrightServer, copy the following two files in the directory to which you want to install.:
The BrightServer_<version>.tgz file, and
A Java Runtime Environment self extracting binary (eg. jre-6<version>-linux-i586.bin)
Please note that versions of JRE prior to 1.6.0 are not supported with BrightServer.
Then proceed through the following:
In the directory extract the tgz file using the following command:
% tar -xf BrightServer_<version>.tgzWithin the same directory, run the Java Runtime Environment installer via the following command.
% ./jre-6<version>-linux-i586.bin
(You may alternatively copy an existing JRE directory into the installation directoryRename the JRE folder to jre_1.6.0
% mv jre_1.6.0_16 jre_1.6.0Change the run.sh script to make it executable.
% chmod +x run.shContinue to run the script with the default configuration xml file.
% ./run.sh ./conf/config.xml
If successful, the terminal screen should appear similar to as follows:
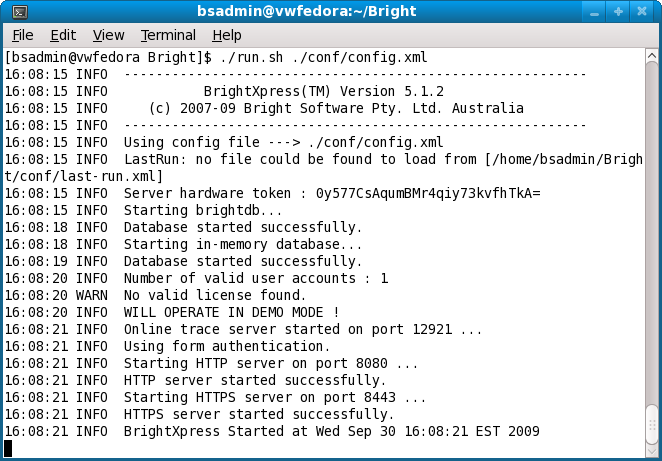
The server has now been started. Press Ctrl+C to stop the server, and return to the terminal.
Connect to BrightServer
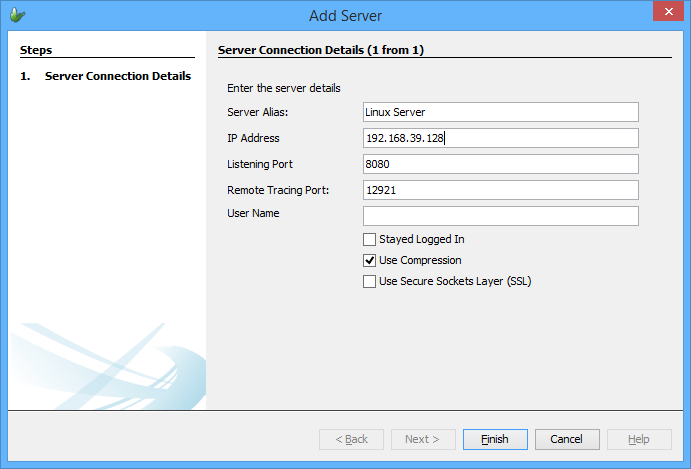
Using the 'Servers' panel in BrightBuilder, try connecting to this server. To do this:
Add a new server, specifying the IP address of the PC running the server, and configuring other fields if necessary.
Configure the firewall and/or ports for the server; if the defaults are used, ensure 8080 and 12921 ports are open for TCP connections.
- The server should appear in BrightServer's servers tree. Right click and connect to it, logging in with the default system account login/pass: bsadmin/changeit.

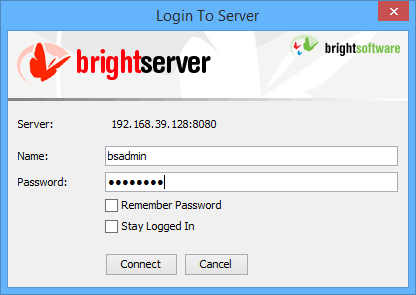
- If successful, the icon should change, and you may download and upload configurations. You may also deploy BEP server configurations through the project panel.
Configure the Server
The following steps demonstrate how to configure BrightServer to connect to a database and also deploy and release an application.
Create a new BEP project.
Create the table definitions in the BEP project or import them from a database server using the Import Database Tables feature in the BEP context menu.
Specify the database through the Sync Points element of the BEP in the project pane, and set the necessary username and password fields (from the server's POV, eg, if the database was running on the same box as BrightServer, then localhost, root and <empty> would be the defaults for address, name, and passwords respectively).
Deploy the configuration to the BrightServer server which was just added. If successful, the following dialog should appear.

From here, the deployed configuration may be activated and assigned to users by following the prompts after deployment. For more information on this process, please refer to the BrightServer Project Deployment chapter of this document.
Further information on configuring BrightServer may also be found in the BrightServer > BrightServer Instances and BrightServer > Server Configuration chapters.
Application Deployment and Synchronisation
Deploy an application to the server by right clicking on the BSP project in the Projects pane and selecting 'Deploy Application to Server'.
Download the current configuration and release the application to a user. User accounts are found under Configuration > Users in the Servers pane. Upload this edited configuration back to the server.
In BrightForms, enter in the IP address of the server, and the user details under 'Settings'. Save these settings and then select 'Synchronise'. The server should synchronise the application down from the server.
For more detailed instructions on deploying and releasing applications, please refer to BrightServer > User Configuration chapter in this document
Example
This purpose of this example is to setup a BrightServer instance, configure the server with a BEP configuration, deploy a BSP application and run the application on aclient. This example uses a MySQL database.
Using MySQL, create a table with the following commands:
% mysqladmin create newdb
% mysql -h localhost
mysql> use newdb
mysql> create table TABLE1 (ID varchar(10), NAME varchar(10), DESCRIPTION varchar(42));
mysql> alter TABLE1 add primary key (ID);
The table should be as follows:
mysql> describe TABLE1;
+-------------+-------------+------+-----+---------+-------+
| Field | Type | Null | Key | Default | Extra |
+-------------+-------------+------+-----+---------+-------+
| ID | varchar(10) | NO | PRI | | |
| NAME | varchar(10) | YES | | NULL | |
| DESCRIPTION | varchar(42) | YES | | NULL | |
+-------------+-------------+------+-----+---------+-------+
3 rows in set (0.00 sec)
Install BrightServer and connect to the server in BrightBuilder.
Open the BXLinuxTutorial.bep and BXLinuxTutorial.bsp files. Deploy the configuration specified by the BEP, and the BSP application to the BrightXpress server.
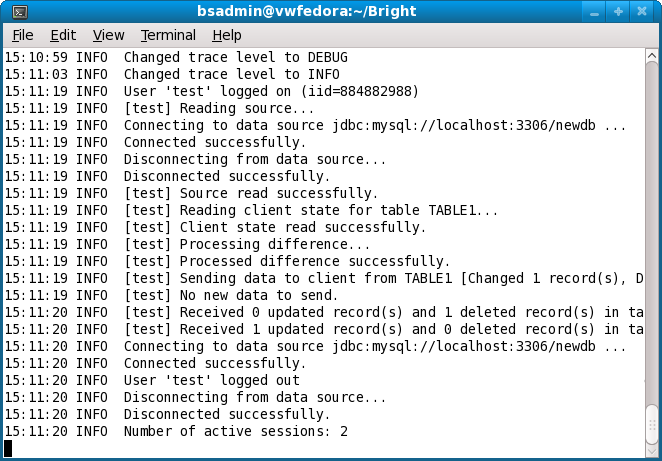
Note: that the BEP server configuration will only be applied after all users have logged off. Be sure to log off from the server after deployment to allow this to happen. A configuration reload can be confirmed by looking at the server output.
Once the configuration has been applied, connect again to the server and download the server Configuration and release the deployed application to a user.
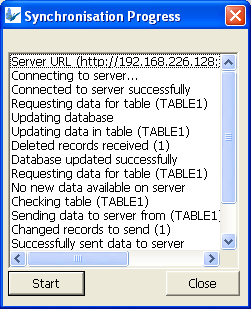
Install and open the BrightForms client on a PDA or Windows desktop. In the Settings, enter the username and password and the IP address of the server, then choose 'Synchronise' from the Help menu.
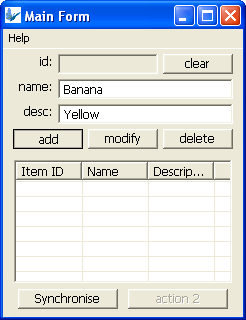
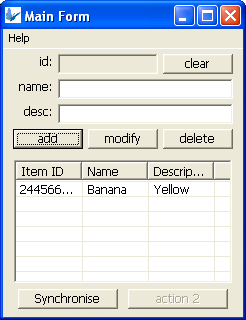
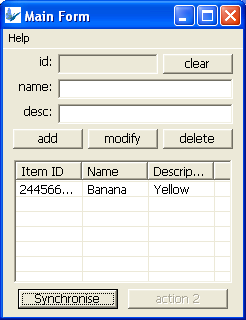
Restart BrightForms. Add a new item, and then click the application's Synchronise button. The new item will be synchronised to the server.
BrightForms:
BrightServer instance:
MySQL:
mysql> select * from TABLE1;
+-----------+--------+-------------+
| ID | NAME | DESCRIPTION |
+-----------+--------+-------------+
| 244545807 | Banana | Yellow |
+-----------+--------+-------------+
1 row in set (0.01 sec)