Running the Embedded BrightServer
Contents Hide
BrightServer projects (BEPs) may be developed and tested within BrightBuilder. To do this, firstly install and run BrightBuilder, then perform the following steps to create a BrightServer project, and to start and stop a BrightServer within the IDE running the defined project.
This process will create a BrightServer instance where necessary, which may be connected to, modified and configured exactly the same as a dedicated BrightServer instance on a target machine. However, BrightBuilder will export the selected BEP configuration as an XML file, which will run activated on the server as 'UnknownProject' with release number '-1'. It will also be set as the default configuration for the instance.
 With
the embedded BrightServer running, all other deployed configurations
on the server will be active, but will not load. This is signified
in the Deployed Configurations
panel by red highlighting.
With
the embedded BrightServer running, all other deployed configurations
on the server will be active, but will not load. This is signified
in the Deployed Configurations
panel by red highlighting.
If multiple users are to use the server concurrently, and starting and stopping is not feasible, then a test environment should be created with an installed BrightServer instance. In this scenario, BEPs should be deployed to a BrightServer instance for testing. For more information, please refer to the Using BrightServer > Deploying Configurations to BrightServer chapter.
Create a BEP Project
To create a BEP project:
Click
 to create a new BrightServer project.
Select “BEP – BrightServerProject” from the New Project dialog and click [Finish] button.

Enter the BrightServer project name “TestBrightServer.bep” and click [Create] button as shown below:

Starting BrightServer
To start BrightServer, configured with BEP definition, perform the following steps. If a development instance is already running via the BrightBuilder IDE, performing these steps will terminate the previous instance with a new one running the BEP.
 If
the BEP contains parameterised values via Configuration
Property Files, BrightServer will check for the existence
of a <BEP Name>.properties
file in the 'conf' sub-folder
in BrightServer's installation directory for these values. If
this file is not found, BrightServer may behave unexpectedly after
the BEP file is executed.
If
the BEP contains parameterised values via Configuration
Property Files, BrightServer will check for the existence
of a <BEP Name>.properties
file in the 'conf' sub-folder
in BrightServer's installation directory for these values. If
this file is not found, BrightServer may behave unexpectedly after
the BEP file is executed.
Select TestBrightServer.bep
Click the Execute button as shown below
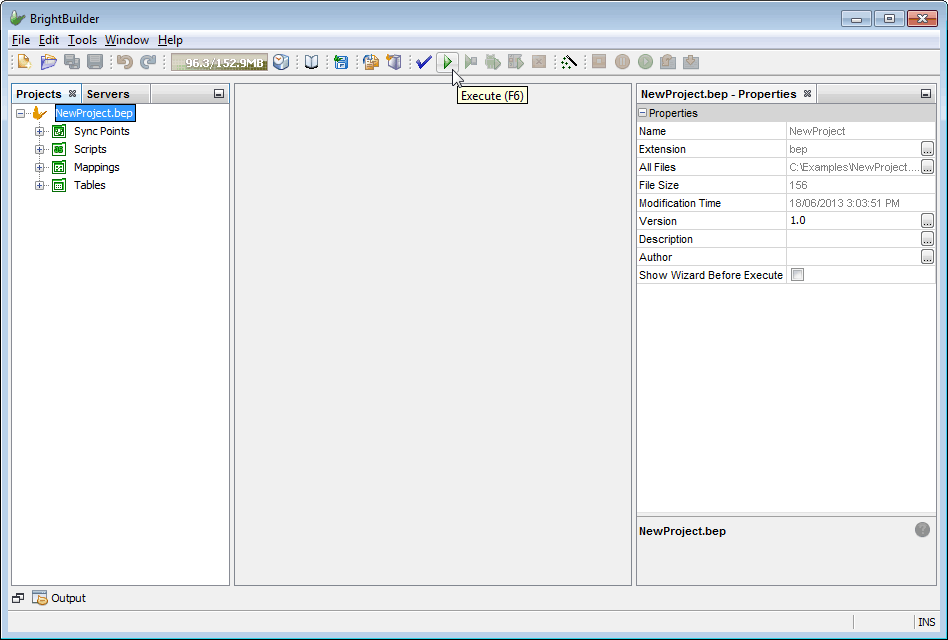
The project will first be validated and if there are no errors found, then BrightBuilder will try to execute the project.
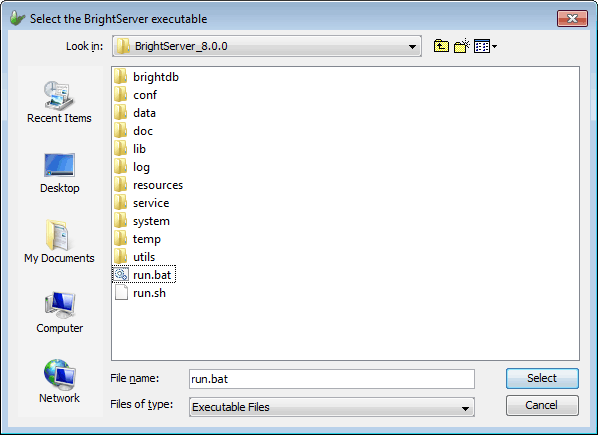
 Selecting BrightServer executable
If you did not install BrightBuilder on the default directory then on first execution, BrightBuilder will ask you to select the BrightServer executable. In the Select the BrightServer executable dialog, select run.bat under brightserver folder of your BrightBuilder installation directory.
If the project is to be executed first time, BrightBuilder will display the following wizard dialog for you enter the necessary initial server settings to start the server. This dialog first allows you to change the default server port.
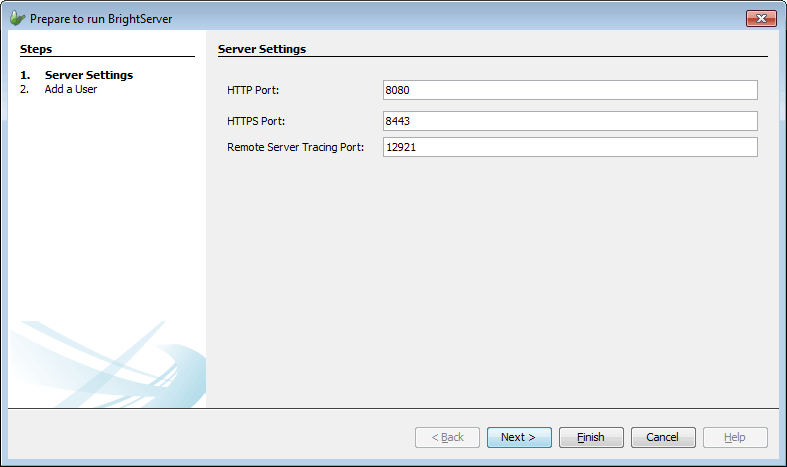
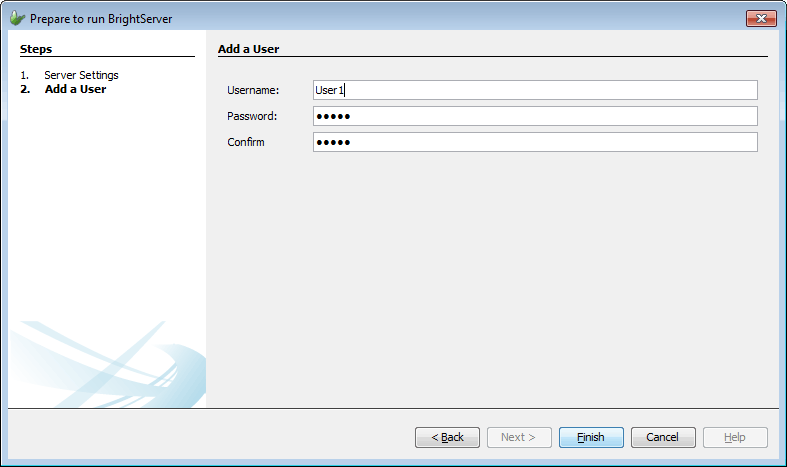
Click on the Next button to move to the next dialog in the wizard. The next step allows you to create a user in the system. If you do not need to create a user account then you can hit the Finish button on the above dialog.
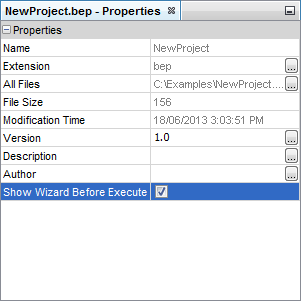
After the initial execution of the project, this wizard will not be presented again. BrightBuilder will use the server settings that have been entered previously. If you need to change the server initial settings, you can tick the BEP Project's "Show Wizard Before Execute" property on.
The Output-Execute window will appear to show that trace for BrightServer, and the TestBrightServer.bep icon will now contain a play icon, as shown below:
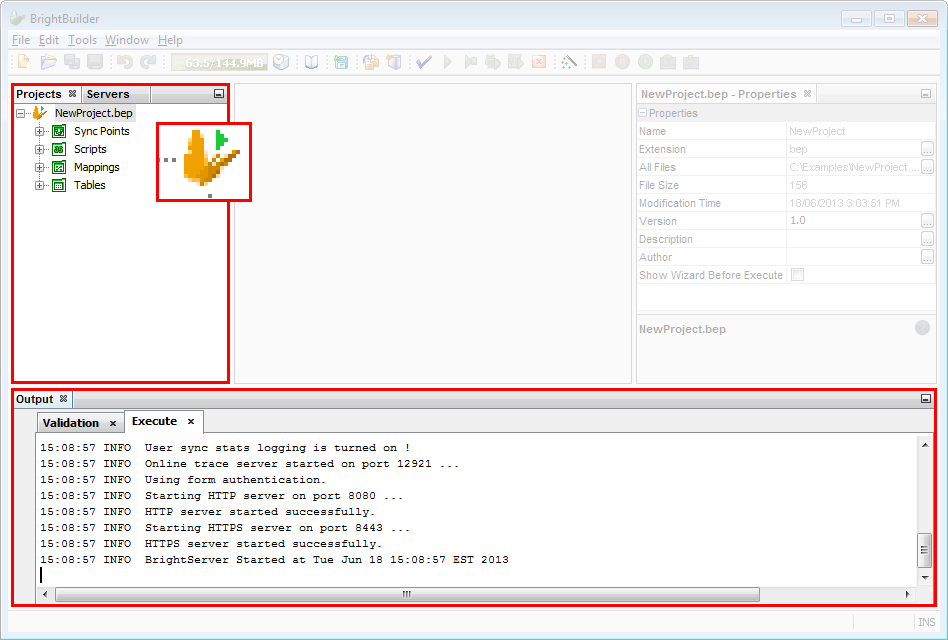
BrightServer will now be running on the using the server settings entered in the wizard dialog.
Stopping BrightServer
To stop BrightServer, simply select the Project name and click on
the STOP ![]() icon.
icon.