Quick Tutorial - Using Listviews
Description
An introduction to a simple, yet powerful and versatile form control which can be used in a variety of applications.
Resources
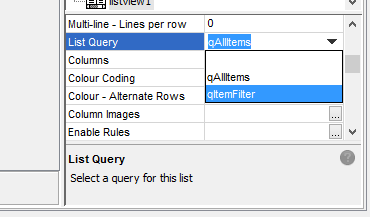
Linking a Query to the listview
A listview displays a list of records based on the query linked to it. The linking is achieved via the ‘List Query’ property of any list view. Without a query, column headers will not appear and the control will appear as depressed grey box on the form. Futhermore, there will be an error on validation. While this tutorial covers simple queries, more complex queries can be used to create searchable and filtered listviews, and listview formatting and functionality can also be modified to a high degree. This will be explored in future tutorials.
Editing Columns
While linking a query to a listview will automatically create column headings matching the output fields of the query, these may not be readable or logical to the users of your application. Thus it is likely that when developing with listviews, the rendering of the columns needs to be modified.
The application’s display of columns can be edited using the ‘Columns’ property after selecting the listview. This will bring up a dialog where you can edit the columns, identified by names of the linked query’s output fields, whose order may also be changed via the ‘Move Up’ and ‘Move Down’ buttons. Using this dialog, the column headings of the listview may be edited using the ‘Name’ column.
The width may also be edited with ‘Width’, as a percentage of the listview’s non-scrollable area; any total greater than 100% will result in a horizontal scroll bar. It should also be noted that these width variables will be the default values the form has on initial load. If the user resizes them, BrightForms will load and store these sizes in the registry for later use.
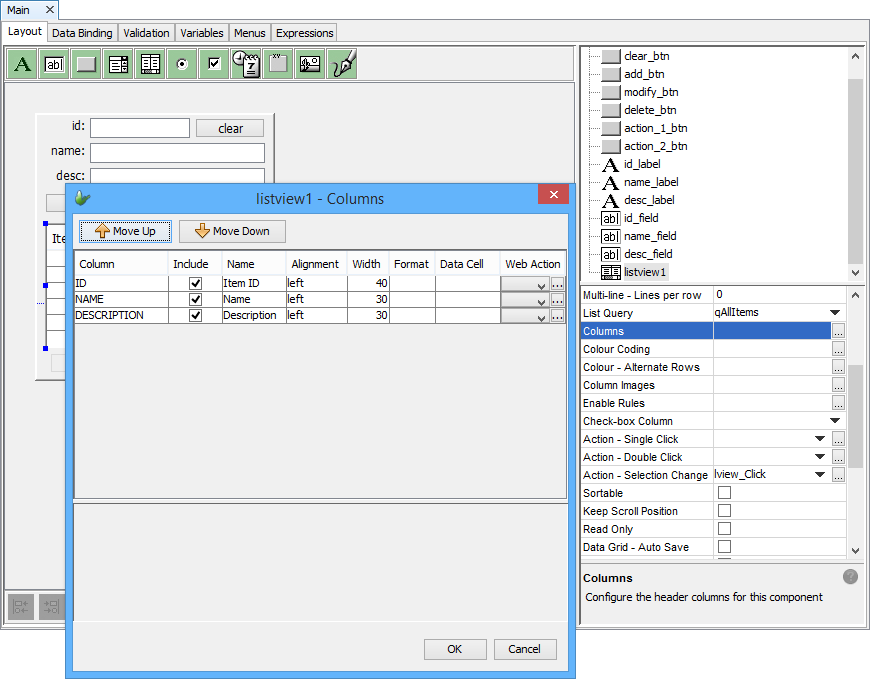
Additionally, you may omit columns all together, using the ‘Include’ checkboxes. By default, all output fields of the query are included. Finally, more advanced listview column properties, ‘Format’; used to format date/time and int records to a more readable format for the user, and ‘Data Cell’ ; placing edit controls in the listview, can also be found here.
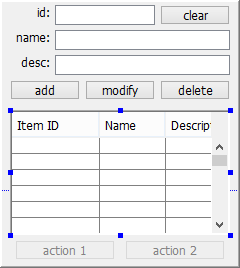
Once the changes have been made to the columns, WYSIWYG editor will update to reflect them.
Accessing Data in the Listview
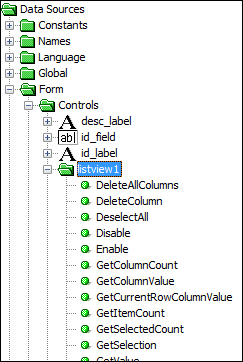
Data can be retrieved from the currently selected entry or entries of the listview. The listview, while a form control, is usually referenced as an object in expressions, as they do not have values that can typically be assigned and read as is, like other controls. The listview is thus unassignable as a folder under the Form > Controls folder
Values of the selected row’s columns in the listview can be retrieved by using the GetCurrentRowColumnValue() method in the data source tree. The argument required by the method is the string value of the column, defined by the query’s output fields. Retrieve these strings via the Names > Queries folder.
Retrieving values this way is also useful for parameter passing into other forms, which will be covered in future tutorials. There are also many more methods and expressions which can utilise this form control, such as those used for processing multiple selections. For more information, please refer to the Bright Software User Manual.
Listview Actions
Actions can be assigned to Single or Double Click events on the listview, or Selection Change. These values can be located and modified in the listview control’s properties panel.

Exercise
Modify the ListviewStart.bsp application to populate the id, name and desc fields with their respective columns when the user changes the selected value in the list.

A solution is provided with the ListviewFinished.bsp project file.