Quick Tutorial - Implementing Synchronisation
Description
An introduction to the synchronisation engine in Bright products, detailing how to utilise and implement it in development of Bright applications.
Resources
What is Synchronisation?
The synchronisation engine in Bright products is what facilitates the sending and receiving of records from client to server, and vice versa. It ensures that both server and device has the necessary data, and that the integrity of the data is preserved throughout the process, incorporating roll back measures if the transmission goes awry.
How this synchronisation occurs is designed in BrightBuilder via Sync Rules, which are then activated and then executed in BrightFroms applications by the synchroniser object. The sync rules define the set or subset of data necessary for the transaction, and the direction of the transaction. Each sync rule represents a transaction on the database, with data committed after the rule is successfully run. The synchroniser object then takes this definition and executes it – which may be in different ways depending on the project. This document aims to demonstrate how to best use these two key aspects of synchronisation.
Sync Rules
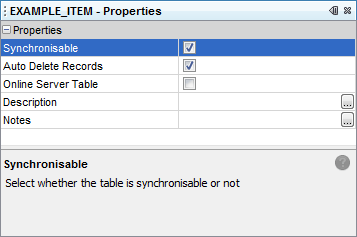
Sync rules define what data is necessary to be sent or received from the client or server, and these sets of records are defined by queries. The query used for the sync rule may be of any type in BrightBuilder; however, the table it acts on must have its property ‘Synchronisable’ set as true.
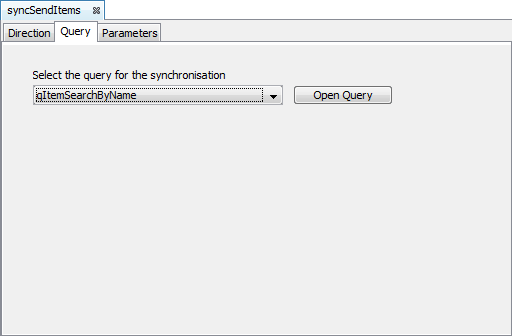
Sync rules are created using the ‘Sync Rules’ node in a project, where the direction of the rule, the query, and any parameters (if a parameterised query is used) are defined.
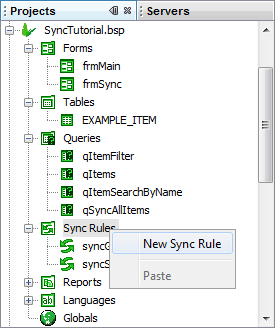
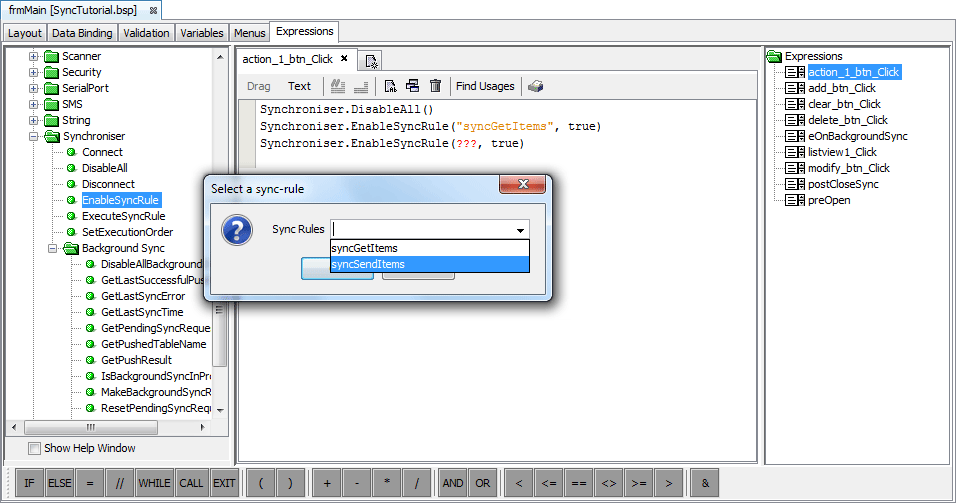
Once defined, the sync rules in the project can be found in the data source tree, and may be used in expressions with Synchroniser object. Executing the rule will then send the records resulting from the query to the server.
Synchroniser Object
The Synchroniser object is utilised in expressions designed in BrightBuilder and executed on the BrightForms platform. This object takes and executes the sync rules defined in BrightBuilder, and depending on the Object methods used, can execute the sync rules in specific ways, controlling the activation, order and type of synchronisation within the application.
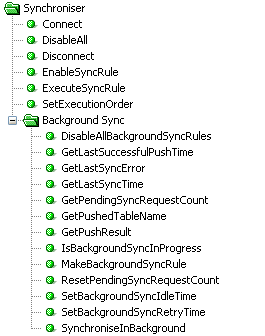
There are three means of synchronisation supported by BrightBuilder and BrightForms, each with their own pros and cons, and are detailed in the sections below. After each, if the synchronisation is successful, record created on the device will be deleted if the tables' Auto Delete property is set to 'true'.
Sync Dialog
This displays a sync dialog as feedback to the user, and executes any enabled sync rules in the process. The dialog may either but full or partial, depending on the Boolean value entered in the method (true = small dialog). It is the most straight forward synchronisation process, and is also accessible in all projects via the ‘Help -> Synchronise’ option.
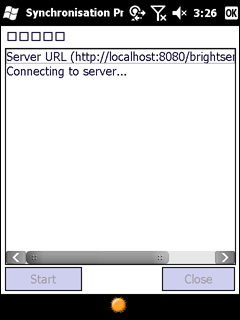
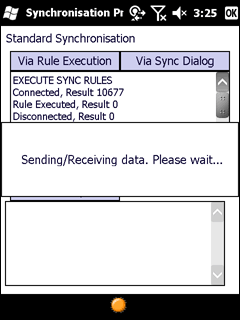
Typically, the execution is performed as follows:
local.result = Synchroniser.DisableAll();
local.result = Synchroniser.EnableSyncRule(“Rule01”, true);
local.result = Synchroniser.EnableSyncRule(“Rule02”, true);
…
local.result = Synchroniser.EnableSyncRule(“RuleNN”, true);
local.result = Form.ShowSyncDialog(false);
Execute Rules
Connects to the server, then executes synchronisation rule by rule with a result for each, then disconnects from the server. It may be achieved purely via expressions, with no user intervention or feedback necessary. The sequence of expressions is as follows:
local.result = Synchroniser.Connect();
local.result = Synchroniser.ExecuteSyncRule(“Rule01”);
local.result = Synchroniser.ExecuteSyncRule(“Rule02”);
…
local.result = Synchroniser.ExecuteSyncRule(“RuleNN”);
local.result = Synchroniser.Disconnect();
Each rule’s execution may be checked and defined one by one, giving greater control to the execution of the synchronisation process, however it is hard to integrate project wide and by default provides no user feedback explicitly.
Background Sync
Sets up similarly to the Sync Dialog method, however instead of a dialog display for the synchronisation to the user, it is set to synchronise in the background of the application. Work is done via the background thread in BrightForms, which also sends a message to all forms with sessions once its session is completed, allowing a more integrated synchronisation experience project wide. However, it lacks the immediate nature of the other synchronisation methods; it will only execute the defined rules when the Background Sync thread awakens, and if it doesn’t succeed immediately, it will try again after a set period of time by default.
Expression wise, in addition to enabling the sync rules like the Sync dialog method, all rules to be synchronised must also be flagged to be done so via the Synchroniser.MakeBackgroundSyncRule() method. Furthermore, instead of Form.ShowSyncDialog(), Synchroniser.SynchroniseInBackground() is used instead, which signals the background sync thread to execute enabled Background Sync rules. The result able to be retrieved via the Synchroniser.GetLastSyncError() method.
For more information, refer to the Background Synchronisation section in the Bright Software User Manual, or the Background Synchronisation Tutorial.
Exercise
SyncStart.bsp
The project contains a simple listview which displays the EXAMPLE_ITEM table, and buttons with expressions which allow the creation and modification of records in this table.
The BSP also contains two buttons, ‘sync_dialog_btn’ and ‘sync_exec_btn’ with empty expressions. These will be used in the exercise to implement dialog and execution synchronisation respectively.
FileSync.bep
The BrightServer Configuration creates new records or modifies existing ones within the EXAMPLE_ITEM table. This EXAMPLE file will be written in C:\Temp\EXAMPLE_ITEM.txt. This path may be changed in the sync points panel.
The data source configured is a file, as the goal of the server is to primarily consume data. Therefore, delete methods are not specified.
Complete the SyncTutorialStart.bsp project, implementing sync dialog and execute methods of synchronisation. Be sure to update the listview at the end of each method to verify the synchronisation process has correctly taken place.
SyncFinished.bsp is a sample completed bsp. Note that in this completed example, result checking for every step of synchronisation is present.
For a Background Synchronisation exercise, please refer to the Background Synchronisation tutorial.
