Sync Rules
Contents Hide
To increase productivity and convenience in developing Bright Applications, a built-in synchronisation engine was developed. The goal of synchronisation is for two disparate data sources one in the client i.e. handheld PC, the other in the database server, to contain the same data, so that the users can work with the data on the client and server with equal ease. The Sync Rules control how the Bright Application accomplishes this goal.
In simple terms, synchronising data is exchanging data and there are two ways to exchange data using BrightBuilder. The data can be exchanged from server to client or client to server. The sync engine features secure connections with compression and runs in transaction mode. When synchronizing, data is updated in transactions in order to preserve data integrity. Thus if connection is dropped in the middle of a transaction, the partial data that was already sent is thrown away by rolling back the transaction in progress. When communications are restored, a new transaction is started from the beginning.
Sync Rules are the synchronisation definitions that define the subset of data specified by the query is to be synchronised and which direction data is transmitted. All or any portion of the table (or tables) can be synchronised. The designer can choose to synchronise entire tables, or can choose to synchronise only particular subsets using parameterised queries.
Creating a new Sync Rule
In the Projects panel, click on the plus sign to expand the project and view all the project elements.
Right click on the Sync Rules subtree and select New Sync Rule from the popup menu.

The new sync rule will be opened in the Source Editor window with default name SyncRule1 or SyncRule#, where # is a unique number depending on how many sync rules there is in the project.
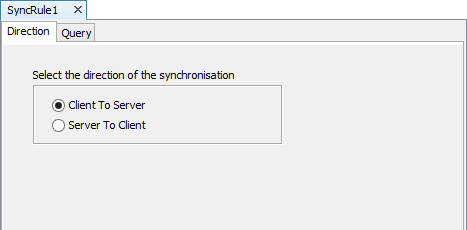
The Sync Rule Source Editor window has two default tabs, Direction and Query.
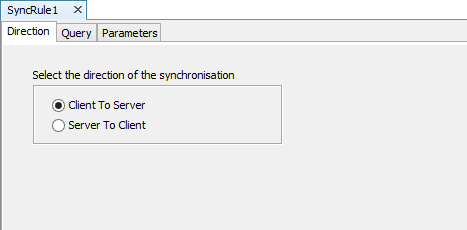
If a parameterised query was chosen in the Query tab, the Parameters tab will appear to resolve the parameter values needed for the synchronisation as shown below:
Direction of the Synchronisation
The Direction tab has two choices depending on which direction the data needs to be transmitted. Data can be synchronised from the client to the server or from the server to the client.
Synchronising data from the client to the server will update the server database with the changes that have made in the client tables and depending on the table properties, the synchronised data can be automatically deleted or not (see table attributes).
While synchronising data from the server to the client will update the client database with the changes made to the server database. Note that synchronised data will not be deleted from the server.
EXAMPLE:
A real estate company might use a Property Listing Application, which stores information about their current listings. The company's agents would synchronise the corresponding databases on their PDAs, so that they would have that information close at hand while showing properties to customers. The flow of information is from server to client databases.
But if for example, the application had a Leased or Sold table column, so that when a customer intends to lease or buy the property, the real estate agent can mark the property as leased or sold and synchronise this information together with the customer information back to the main office so that the property can be reserved for the customer. The information flow in this instance is from client to server.
To choose how the flow of information should be, from the Direction tab of the Sync Rule you have created, select one of the radio buttons (Client to Server or Server to Client) on the screen.
Selecting the synchronisation query
Synchronisation data in Bright Applications is always defined by the query which is linked to the Sync Rule.
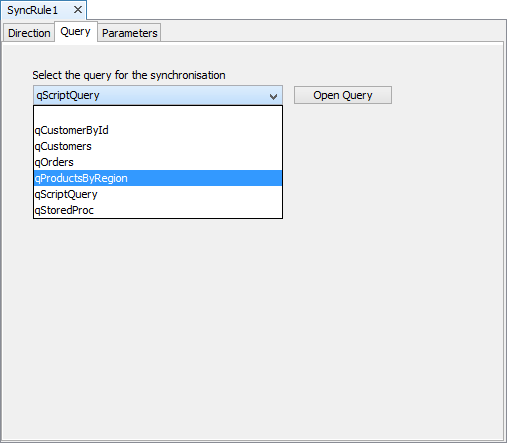
To link a query to a sync rule, go to the Query tab of a SyncRule and select the query from the Select query for the synchronisation drop-down list.
The Select query for the synchronisation drop-down list contains all the queries available in the project, it is therefore very important to name queries appropriately. It is suggested to use QSend and QGet prefix to imply a query for sending data to the server and a query for getting data from the server respectively.
The query criteria that is created will define which record subset will be included in the synchronisation data. And only those records, which satisfy the query criteria, can be synchronised.
Sync Rules can use non-parameterised or parameterised queries. When a parameterised query is used a third tab will appear in the SyncRule Source Editor window, the Parameters tab. In this tab, the parameter values must be specified for synchronisation. To do this,
Click on the parameter to enable the customiser button.
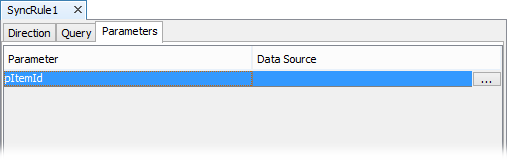
Click on the customiser button, the Choose a Data Source dialog box will appear. This dialog box contains the Data Source tree available for the sync rule query parameters. Refer to the figure below:
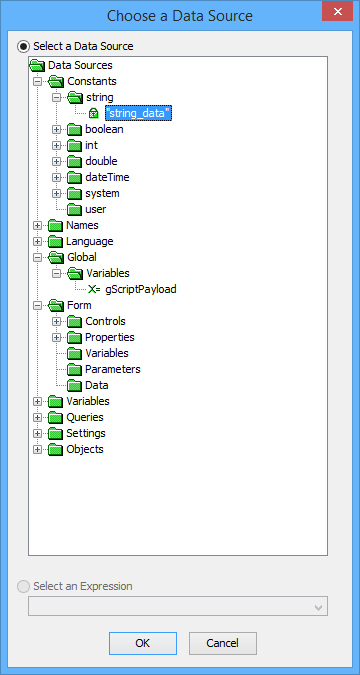
Select the data source for the parameter and click OK.
Opening an existing Sync Rule
To open an existing Sync Rule,
Right-click on the Sync Rule name
Select Open from the popup menu.
The opened sync rule will be displayed in docked view on the Editor window. Move from tab to tab to modify or view the sync rule attributes.
Renaming a Sync Rule
To rename a sync rule, the project elements must first be expanded. Simply click on the plus sign near the project name
Then click on the plus by the Sync Rules subdirectory to view all sync rules in the project
Right click on the sync rule that is to be renamed and select Rename from the popup menu.
A Rename input dialog box will appear, type the new sync rule name and click OK.
A valid sync rule name begins with a letter and may be followed by letters, digits, and the underscore sign ( _ ), and must not contain more than 64 characters.
Deleting a Sync Rule
To delete a sync rule,
Select the sync rule that needs to be deleted.
Right-click to invoke the popup menu.
Select Delete from the popup menu, a Confirm Object Deletion dialog box appear.
Click Yes to confirm deletion or No to cancel deletion.
Background Synchronisation
Background synchronisation allows the mobile application to send data to the server while working or processing another task. This will eliminate the requirement for users to explicitly initiate the synchronisation process. The background synchronisation can be triggered by several events, i.e. user click events, closing or opening of a form, job status changes or data pull from BrightIntegrator.
This will improve the usability of the mobile applications because the users does not need to care about data synchronisation issues.
With your Bright Software mobile application, you simply have to set the Enable Background Synchroniser and the Enable Push Listener project properties to true.
As the name implies, the Enable Background Synchroniser property allows your application to send and receive data to and from the server in the background, without the awareness of the field users. Whereas the Enable Push Listener property lets other Bright Software products to send data to the client devices.
Read more on the Background synchronisation process.